How to Pack for Your Multi-Day Trek
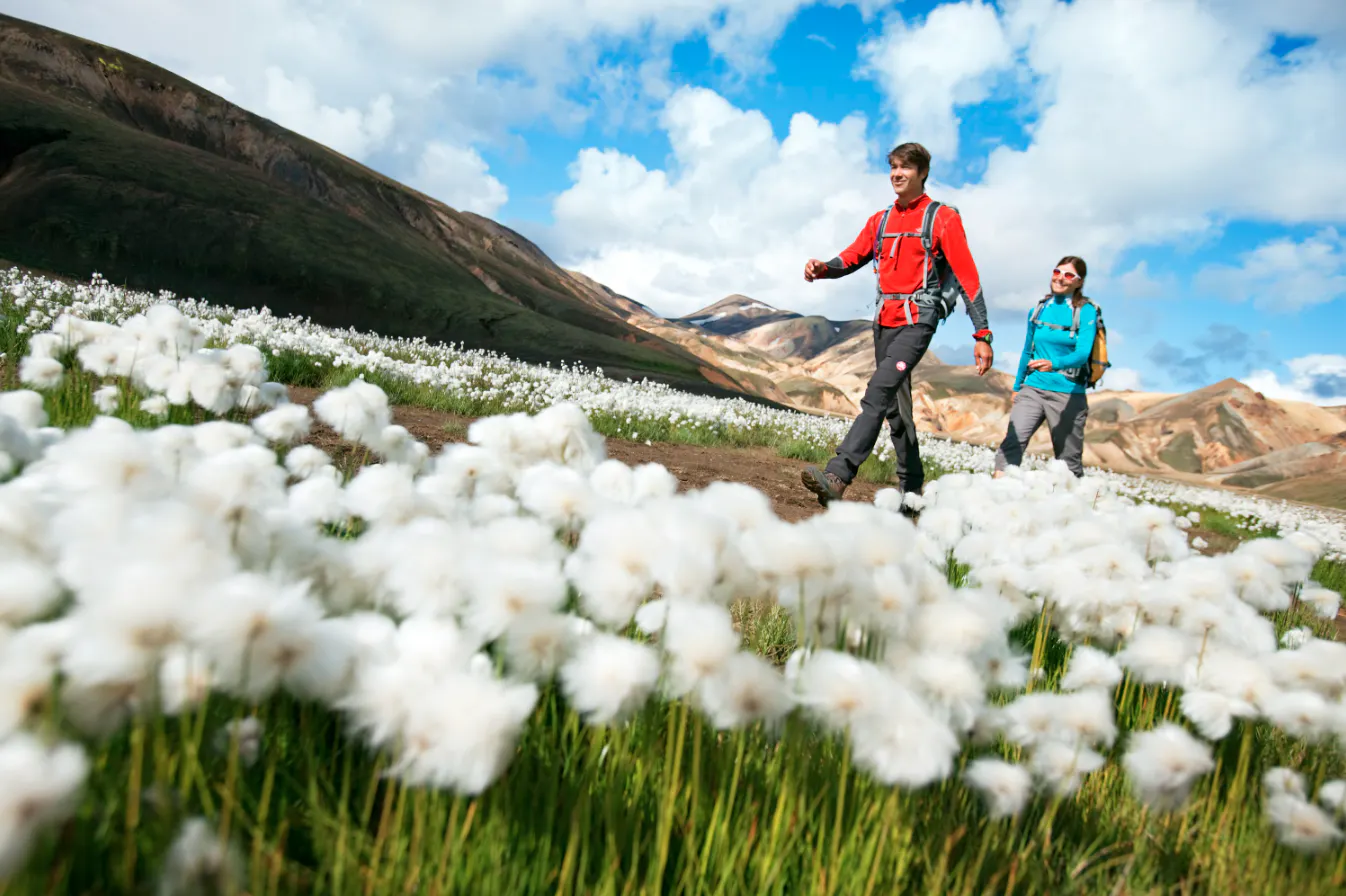
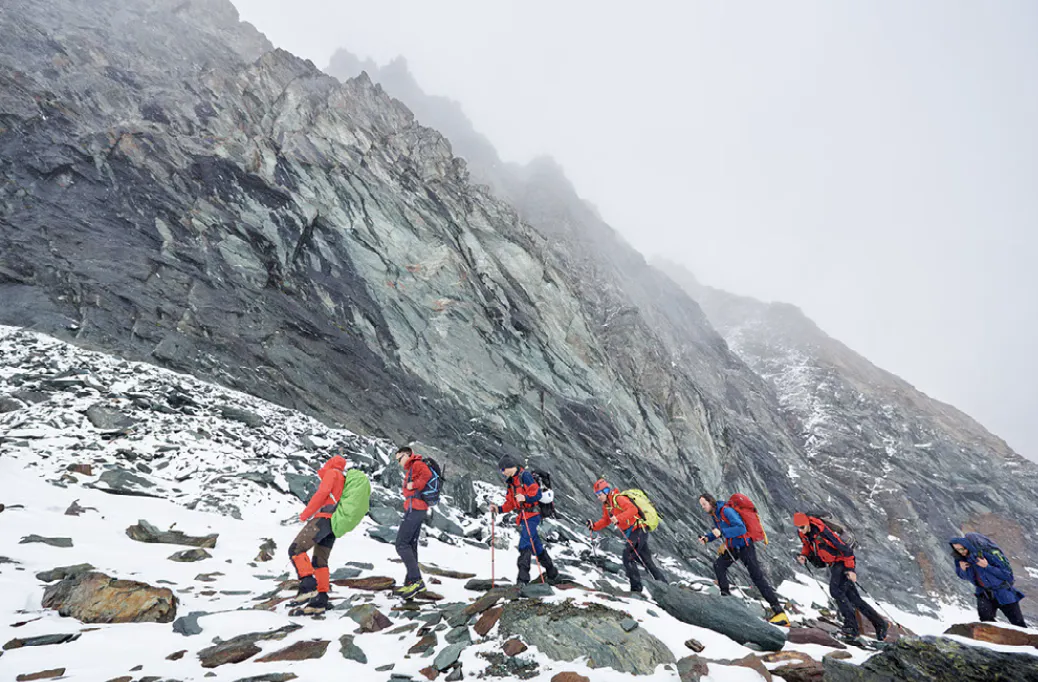
Multi-day treks offer epic and unforgettable adventures. Whether you prefer to brave the elements on a 5-day journey through the Chilean Andes or elect to trace the footsteps of John Muir through the high Sierras, packing the proper gear will ensure you make it the distance – and enjoy the miles along the way.
Our Mountain Travel Sobek guides have been leading expeditions for over fifty years. We’ve seen just about every gear-related mistake out there and are here to help suggest how you pack for your upcoming journey.
The only thing we can’t prepare you for are the life-changing-questions that will come up after miles and miles on the trail – perhaps after you crest that ridge at sunrise or bite into your first juicy trail apple…
Here is everything you need to know about packing for the trail!
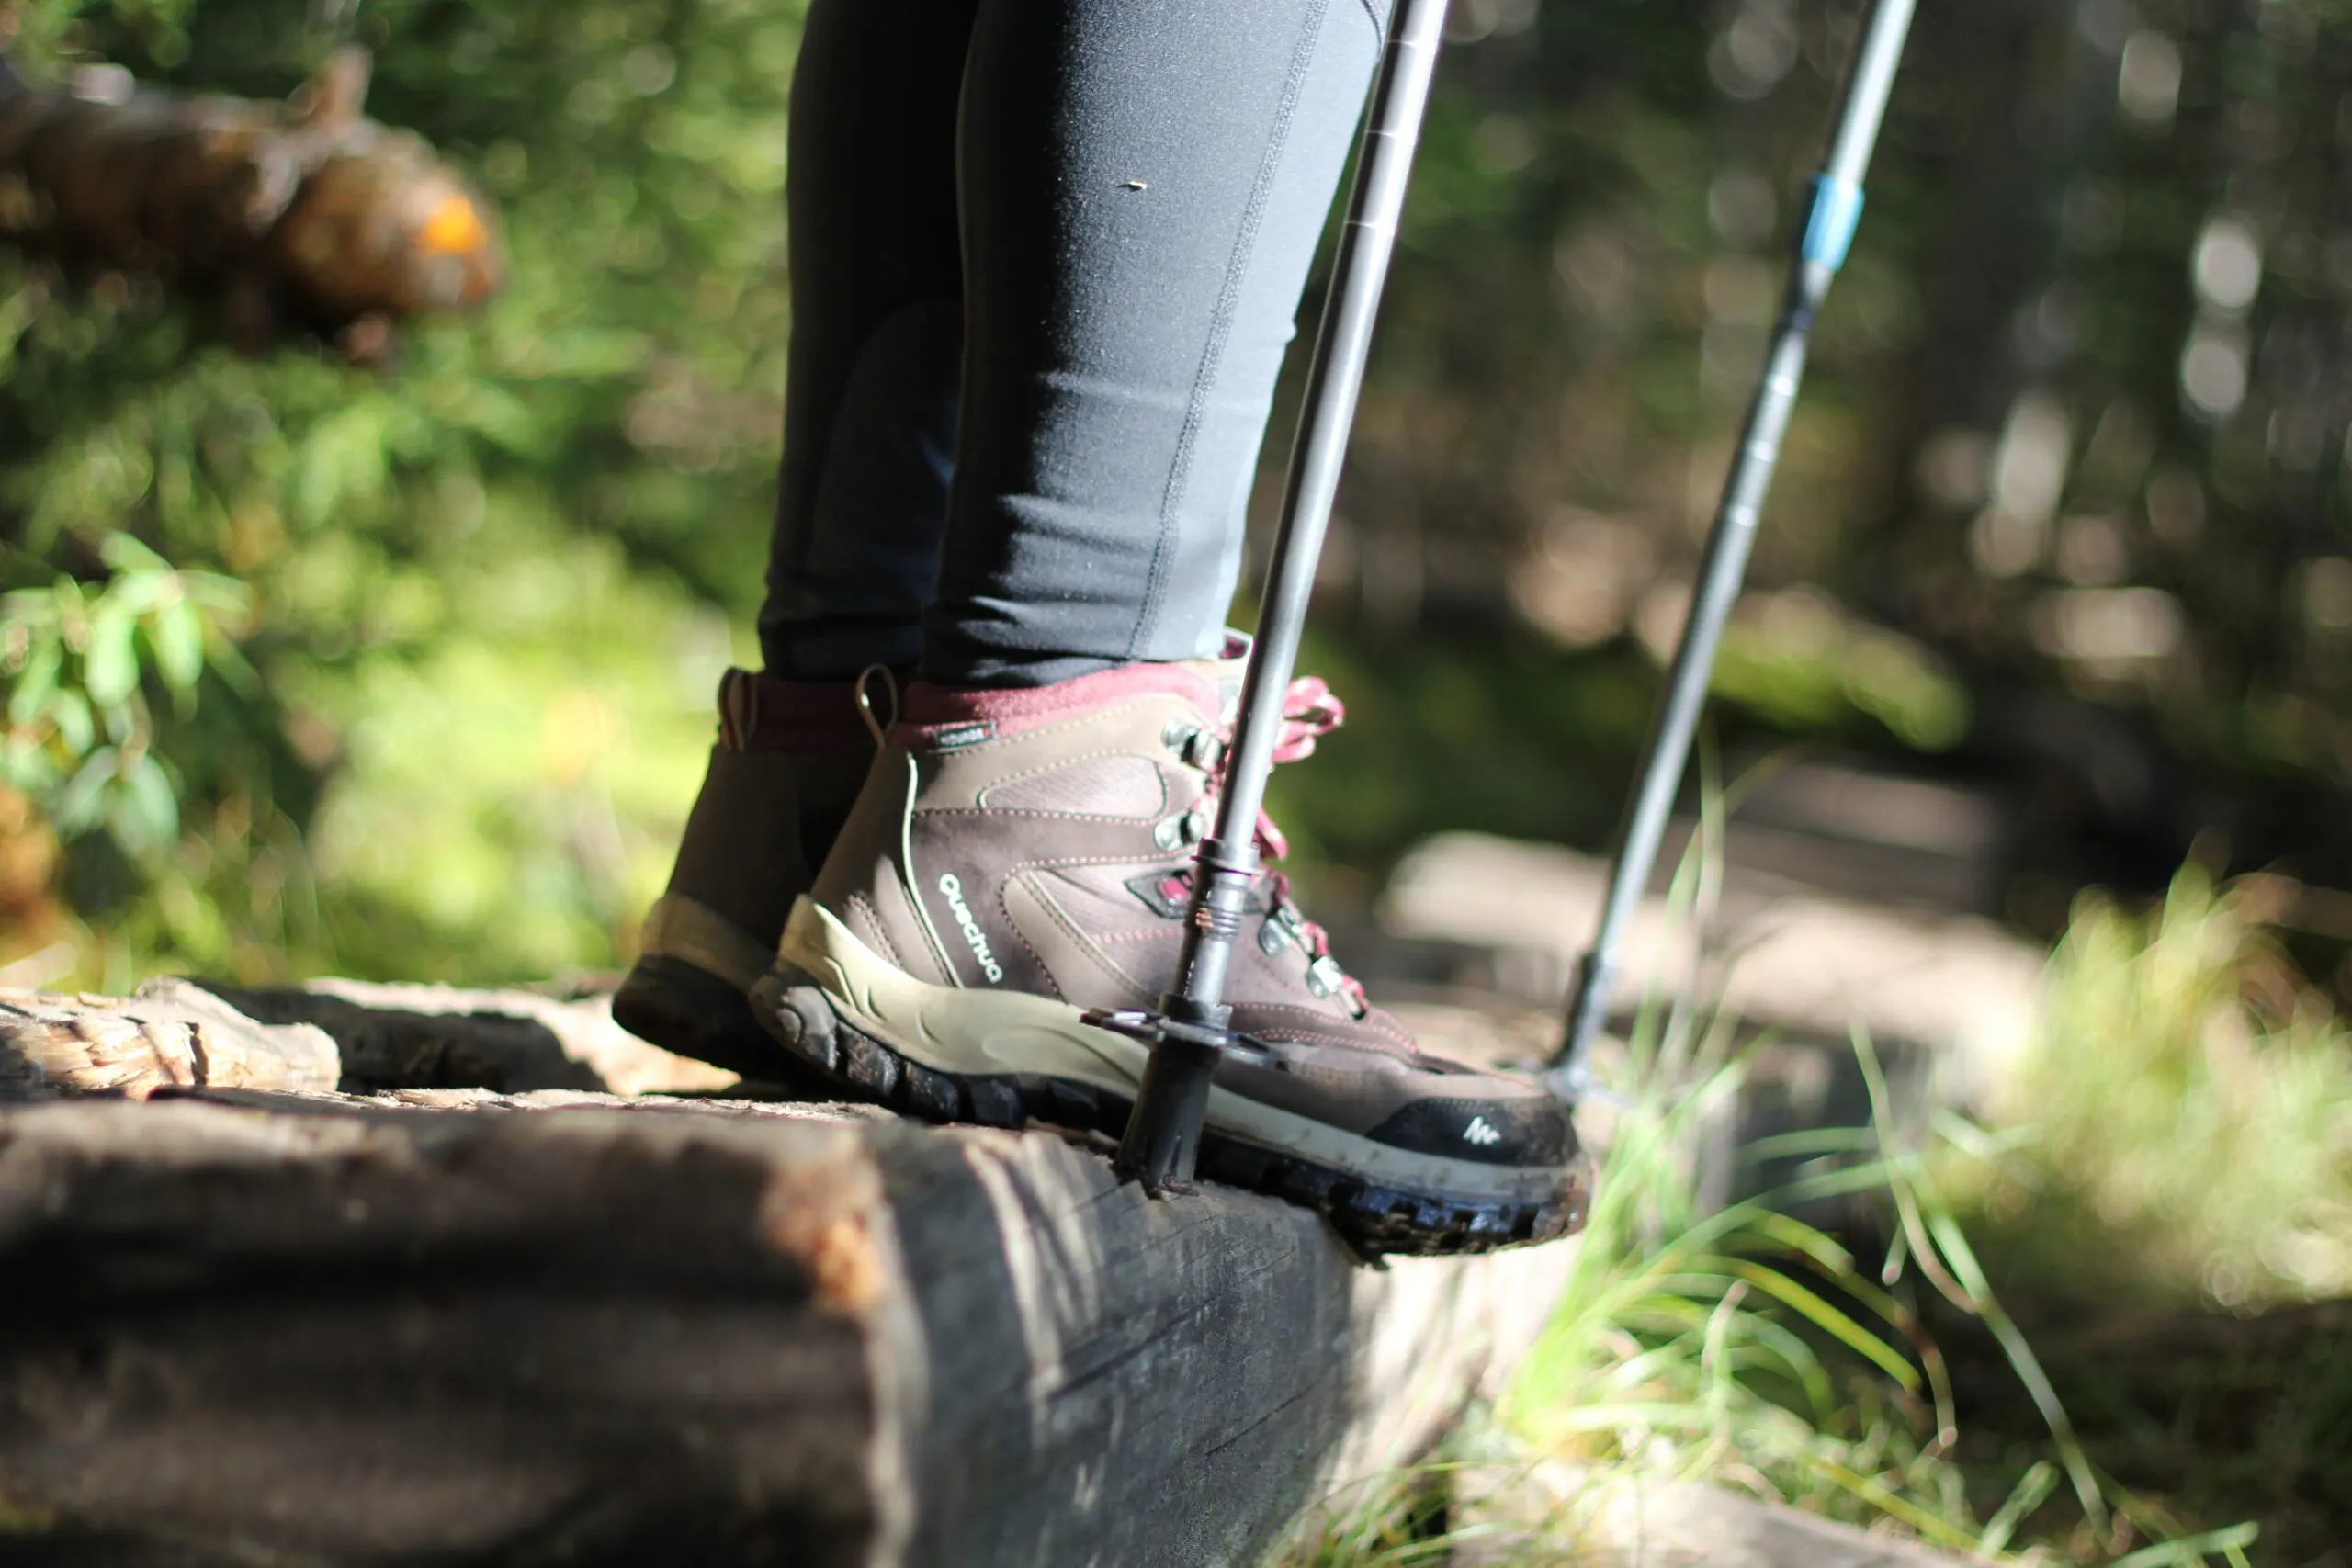
Footwear:
If you are going to splurge on one piece of gear for your trip, treat yourself to some good boots. Your feet (and guide) will thank you later. Approaching the giant shoe wall at your local outdoor store can be an intimidating task, but these simple tips will ensure that you walk away with your dream pair.
When to Buy Your Hiking Boots:
One of the most important things to remember when purchasing a new pair of boots is to give yourself enough time to break them in before hitting the trail. Hikers who wear their boots for the first time ON the trail are almost always headed for blister territory.
- PRO TIP: Give yourself at least one month prior to your trekking date to wear-in your new boots. If you can’t get out for a hike before your trip, wear them around the block or while doing errands.
What to Consider When Trying on New Boots:
Comfort, comfort, comfort. When it comes to hiking boots, comfort should always supersede fashion.
- PRO TIP #1: Make sure to try on any potential boots while wearing the same socks you plan to hike in (we recommend wool socks, which do a much better job of wicking moisture and keeping your feet dry and warm).
- PRO TIP #2: Most outdoor gear stores have a practice ramp for you to walk on an incline in your new boots. Don’t skip this step. Multi-day treks often have significant elevation gains/losses so it’s important to test the boots out while walking on an angle (for example – does your toe bang against the front of the boot when you go down the ramp?) If so, you will not be a happy camper on the trail, and you may even lose a toenail.
- PRO TIP #3: If you can, try on potential boots in the afternoon. Your feet tend to swell over the course of the day (just like they do on a hike), so trying the boots on in the afternoon will give you a closer simulation of what your foot will feel like while on the trail.
What Style of Hiking Boot is Right for You?
These days, there are a daunting array of choices when it comes to hiking boot models. Old-school backpackers will tell you that you need heavy, ankle-high boots with a sturdy base, while ultralight hikers swear you can get away with lighter trail running models. So, what style should you go for? The answer is somewhere in between.
- PRO TIP #1: We recommend choosing a midweight, ankle-high boot such as the Merril Moab 3 Mid or the Lowa Renegade GTX Mid (both options come in men’s and women’s models). It’s important to have stability when traversing uneven surfaces with a heavy pack on your back.
- PRO TIP #2: One more thing you’ll want to consider when choosing your perfect pair of shoes is whether breathability or waterproofing features are more important to you. We typically recommend opting for boots with waterproof technology – but keep in mind this means compromising breathability (no water in = no air out). Bottom line, if you are hiking in a wet or temperate destination, opt for Gortex! If you plan to hike in an arid desert, consider breathability.
Camp and River Crossing Shoes: If you have room in your pack, we highly recommend bringing along a pair of “camp shoes” that you can change into when you get to camp. Nothing feels better than getting out of your sweaty hiking shoes at the end of a long day. Tevas, Chacos, and Crocs are all popular options. They can also double as river-crossing shoes if you need to complete a river crossing on your journey and don’t want to get your boots wet.
Hydration:
It’s important to have a plan in place for carrying and treating your water while on the trail. Failing to hydrate properly is one of the biggest mistakes that first-time backpackers make and can lead to more serious concerns ranging from constipation to hypothermia
A general rule of thumb is that humans need at least 3-5L of water per day.
Most hikers carry their water in Nalgenes or in Camelbak water bladders.
- PRO TIP #1: We prefer Nalgenes, but if you want to use a bladder – make sure you keep it away from sharp objects as it is more easy to puncture.
In addition to having enough water, it’s also important to have bacteria-free water. There are only a few places left in the world where you can simply *sip and dip* from the stream. Check in with your guide to see if it’s necessary to treat your water along your hike. Even when hiking in pristine locations, it’s best to have a treatment plan in place (your stomach will thank you later).
There are a wide variety of treatment systems on the market. Options range from cartridge filters to UV lights.
- PRO TIP #2: Sawyer makes an inexpensive and lightweight filtration system called the Sawyer Squeeze. It’s a backpacker staple and can filter a liter of water in under a minute. This is a great choice for most backpacking missions. Another option (if you have time to wait – and don’t mind some sediment left over) are Aquamira drops. And a third choice is the Steri-pen, which uses UV light to zap the really bad guys.
Your Pack:
Gone are the days of the aluminum external-frame packs Chris McCandless disappeared into the Alaskan Wilderness with. If you already have an external pack, you can make it work. But, today, most packs on the market are internal-frame packs designed to hug the body and distribute weight to your hips.
Below are a few of our recommendations for selecting the perfect pack:
How to Select the Right Size Pack:
The first thing to consider when selecting your multi-day pack is its internal capacity. Pack sizes are measured in liters and are based on the compartment space inside the pack. For shorter, 3-5 day hikes, you can usually get away with a 50-70L pack. Longer 5+ day hikes typically require something in the 60-80L range. Keep in mind that if you are planning on bringing any larger items (such as a tent, a stove, or a thick sleeping bag), you may want to size up.
Additionally, most newer backpacks come in mens/womens sizes. The reason for the gender differentiation comes down to average torso size and the location of the hip bone. Additional size variations (s, m, l, xl, etc.) are based on torso length (where the torso is measured from the collar bone to the hipbone).
- PRO TIP #1: Reliable names in the backpacking industry include Deuter, Osprey, and Gregory (among many others). Backpacker favorites include the: Deuter 70L pack, Osprey 70L pack or this Gregory 70L women’s pack.
Recommended Product: Osprey Talon 22 Day Pack
Other Facts to Consider When Trying on Packs:
Hipbelt:
Backpacks are designed to place the majority (70-80%) of the weight on the hiker’s hips. When trying on packs, be sure to stuff the pack with fake weights (many outdoor stores have weighted pillows for this purpose) so that you can see how your hips feel when the weight is on them.
- PRO TIP #2: We recommend choosing a pack with cushier hip-belts because the hipbone can bruise easily and become a hot-spot during a multi day trek.
Location of the Pack’s Compartments and Zippered Pockets:
Accessibility while on the trail is everything. Opt for packs that offer easy-to-access pockets at the top of the pack (“the brain”) in addition to packs that feature a separate sleeping bag compartment at the bottom of the pack. This will make it easier to get to your essential gear on the go without having to rummage through everything.
Raincover:
Most modern packs come with a raincover, but you’ll want to double check this. If your pack does not come with a raincover, you can purchase one separately or you can simply line the interior of your pack with a garbage bag. Either way, make sure you have a plan in place to keep your stuff dry – there’s nothing worse than a wet sleeping bag.
A Day Pack:
If you plan to leave your big 70L backpack behind at basecamp for a day-hike, it’s worthwhile to invest in a collapsible 20-30L day pack that can fit inside your bigger backpack. There are a number of lightweight options that pack down such as the REI Flash Pack. You don’t need to go fancy here or get anything with a frame – just something to carry a layer or two, some water, and maybe lunch!

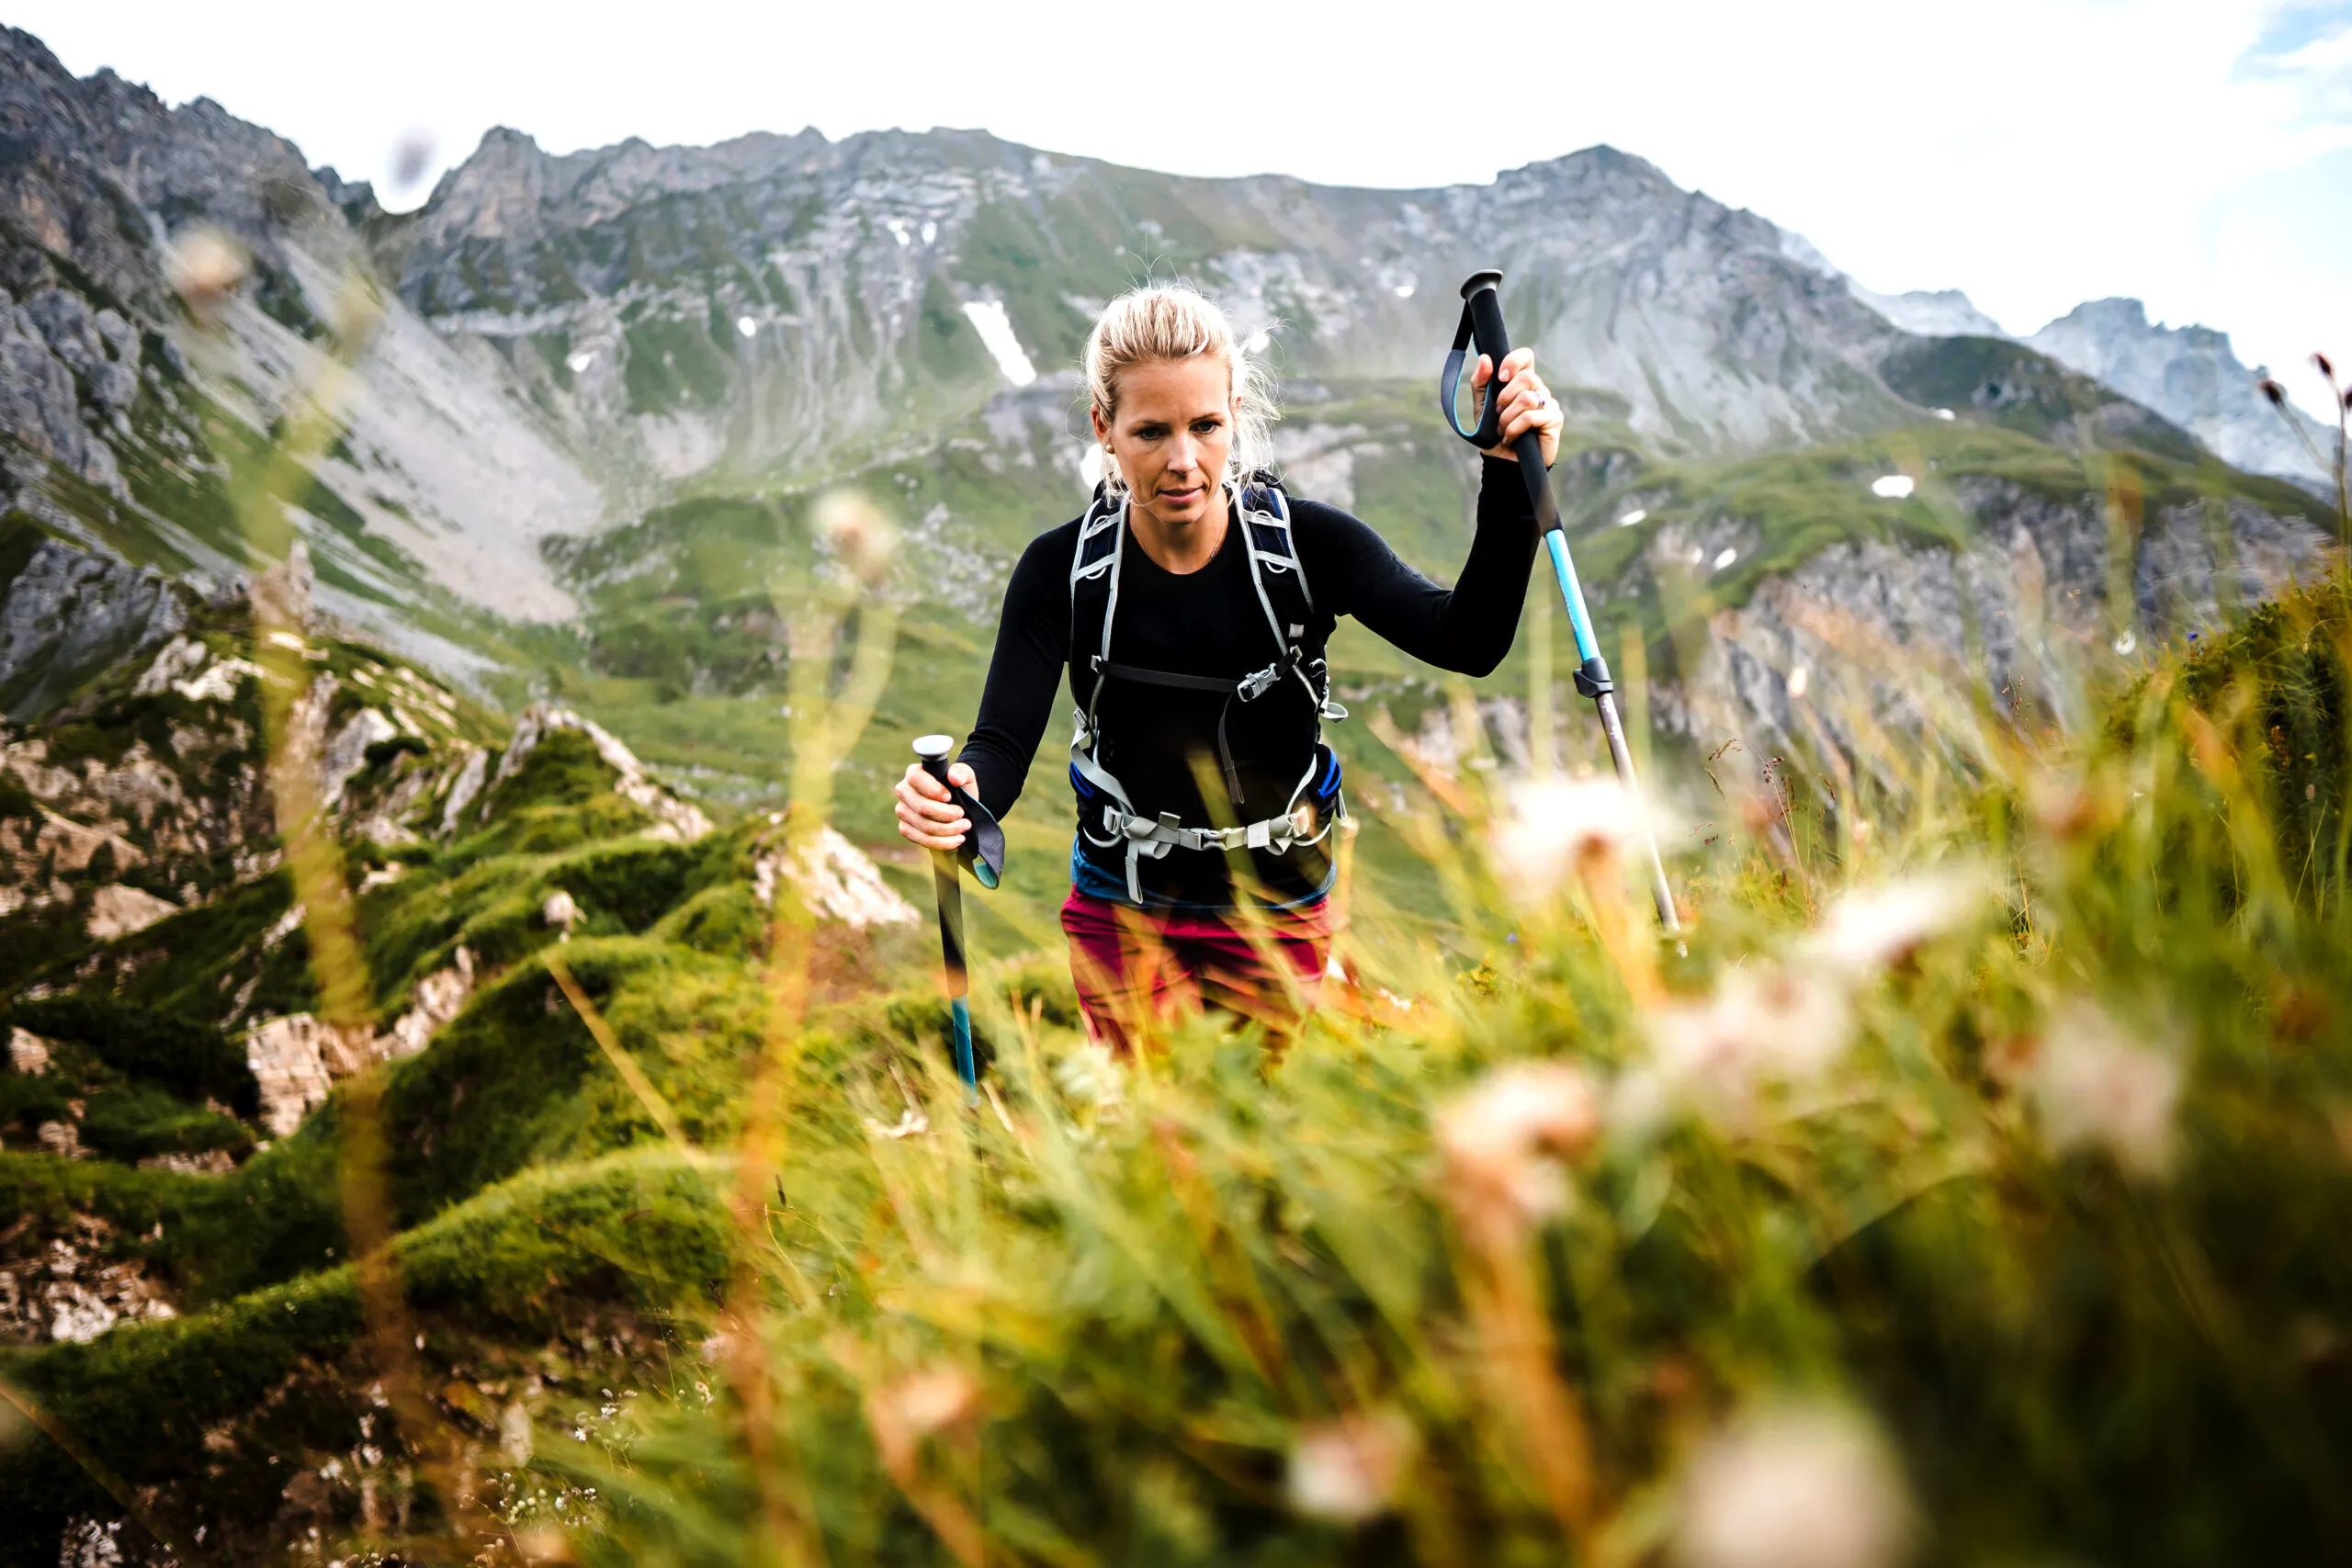
Trekking Poles
Multiday treks can do a number on your joints. One of the best ways to protect your knees and offer additional support (especially while hiking on rocky terrain) is to hike with trekking poles. We recommend hiking with lightweight, collapsible aluminum poles like these Black Diamond ones.
- PRO TIP: For best results, make sure you adjust your poles to the proper height. If you are standing on level ground, your arms should be positioned at a 90-degree angle. When ascending, shorten your poles, and when descending, lengthen your poles. If you plan to hike through snow, get snowbaskets.
Layering Systems and Clothing:
How do you pack lightly but also ensure you have all of the right clothing in your pack? Packing for a multi-day trek can be an intimidating task, but we backpackers have a few golden rules you can follow.
- The first rule is to pack with safety in mind. You want to make sure you stay warm and dry at all times throughout your hike.
- The second rule of thumb is not to over pack. You have to carry everything you bring into the wilderness.
Please note: The following clothing recommendations are meant to be used as a general guideline. Please consult your individual trip packing list for specific packing requirements for your trek.
Layer, Layer, Layer:
Weather can change quickly (especially in alpine environments) so it’s important to pack layers. Chances are you’ll be hot, then cold, then hot, then cold all day long depending on whether you’re hiking uphill or how hard the winds are blowing. You can usually get away with a few standard layers:
Layer #1: Baselayer:
The baselayer is the layer that sits closest to your skin. We recommend packing baselayers that are made from natural fibers (like wool) because they do a better job of keeping warmth in and they don’t get stinky as quickly as synthetic fabrics. We love Smartwool and Kuhl baselayers, but there are a number of great options out there.
- PRO TIP #1: It’s a good idea to pack two baselayers if you plan to be out for more than three days.
Layer #2: Light Jacket or Fleece:
On top of your baselayer, you will want a lightweight jacket or fleece. Many hikers opt for something like the Patagonia Nano Puff or a thicker fleece, depending on the weather. If you will be hiking in extremely cold conditions, consider a heavier down jacket, like this one from RAB.
Layer #3: Rainshell:
No matter what you do, don’t forget a rain shell. This top layer will serve as your water and wind-proofing system. You want this layer to be 100% waterproof (look for Gortex). Options range from the REI XeroDry GTX Jacket to Arcteryx’s Beta Jacket.
- PRO TIP #2: Pack your rain jacket inside of an easily-accessible pocket so that you can grab it quickly in the event of an unexpected downpour.
Pants:
Look for lightweight, water-resistant alpine trekking pants or synthetic hiking pants. Black diamond makes some amazing alpine trekking pants and Prana is known for their synthetic hiking pants (both come in men’s and women’s versions). You’ll want to have stretchy fabric that can wick away the moisture/dew and allow you to scramble up a few rocks if necessary. Depending on where you are trekking, you may want to consider bringing long underwear or rain pants as well.
Heads, Hands, and Feet:
Don’t forget about the extremities. No matter where you are going, it’s always a good idea to have a wool hat, gloves, and warm wool socks.
Undergarments:
Underwear is light and easy to pack, so don’t skimp on the extra pair. Patagonia makes some fabulous (although expensive) trail underwear. Smartwool makes equally amazing undergarments that hold up on the trail.
- PRO TIP #4: Proper hygiene while on the trail is essential. Make sure you switch out your underwear often (even if it means you’ll have to undress and be cold). We can’t tell you how many first-time hikers fail to do this step and end up with yeast or bacterial infections.
- PRO TIP #5: Many hikers like to pack one outfit to hike in, and one outfit to sleep in.
Sleeping Bag:
Sleeping under the stars is a magical experience, but not if you’re shivering! It’s important that you have the proper equipment to stay warm and neck-crick-free once the sun goes down. Here are our hot tips for selecting the perfect sleeping bag for your journey.
Mummy, Rectangular, or Semi-Rectangular:
Sleeping bags come in all shapes and sizes. Most multi-day trekkers opt for mummy-style bags, which taper at the bottom. This style helps maintain warmth, and cuts down on weight
What Size Bag to Get:
Sleeping bags are sized based on the sleeper’s height. Consult your local outdoor store to choose a size that most closely matches your height.
Down or Synthetic:
Down. Unless you’re hiking in a rainforest or are allergic to feathers, always opt for down. Down sleeping bags pack down well, weigh less, and use natural fibers to keep you warmer than their synthetic cousins. On the downside, they tend to be a bit pricier and don’t maintain heat well if wet. Sea to Summit makes amazing, waterproof compression sacks to prevent this from happening (or the hobo-hack is to wrap yours in a plastic garbage bag).
Sleeping Bag Temperature Ratings:
Sleeping bag brands follow standardized, lab-tested temperature rating systems. Women’s bags are rated based on the bag’s comfort rating, which is the outdoor temperature at which a camper would feel comfortable sleeping. For example this Sea to Summit 25 Degree F Women’s Bag is designed to keep the average backpacker comfortable at 25 Degrees Fahrenheit. Men’s bags (and unisex bags) such as this Kelty Cosmic 20 Bag are rated based on something slightly different called the lower comfort rating, which is the absolute minimum outdoor temperature that the sleeper would be okay sleeping outside in.
- PRO TIP #1: Most hikers select bags in the 15-25 Degree range to cover their bases on a wide variety of hikes.
- PRO TIP #2: Make sure to pay attention to how much the bag weighs. A good multi-day trekking pack should weigh under 3lbs.
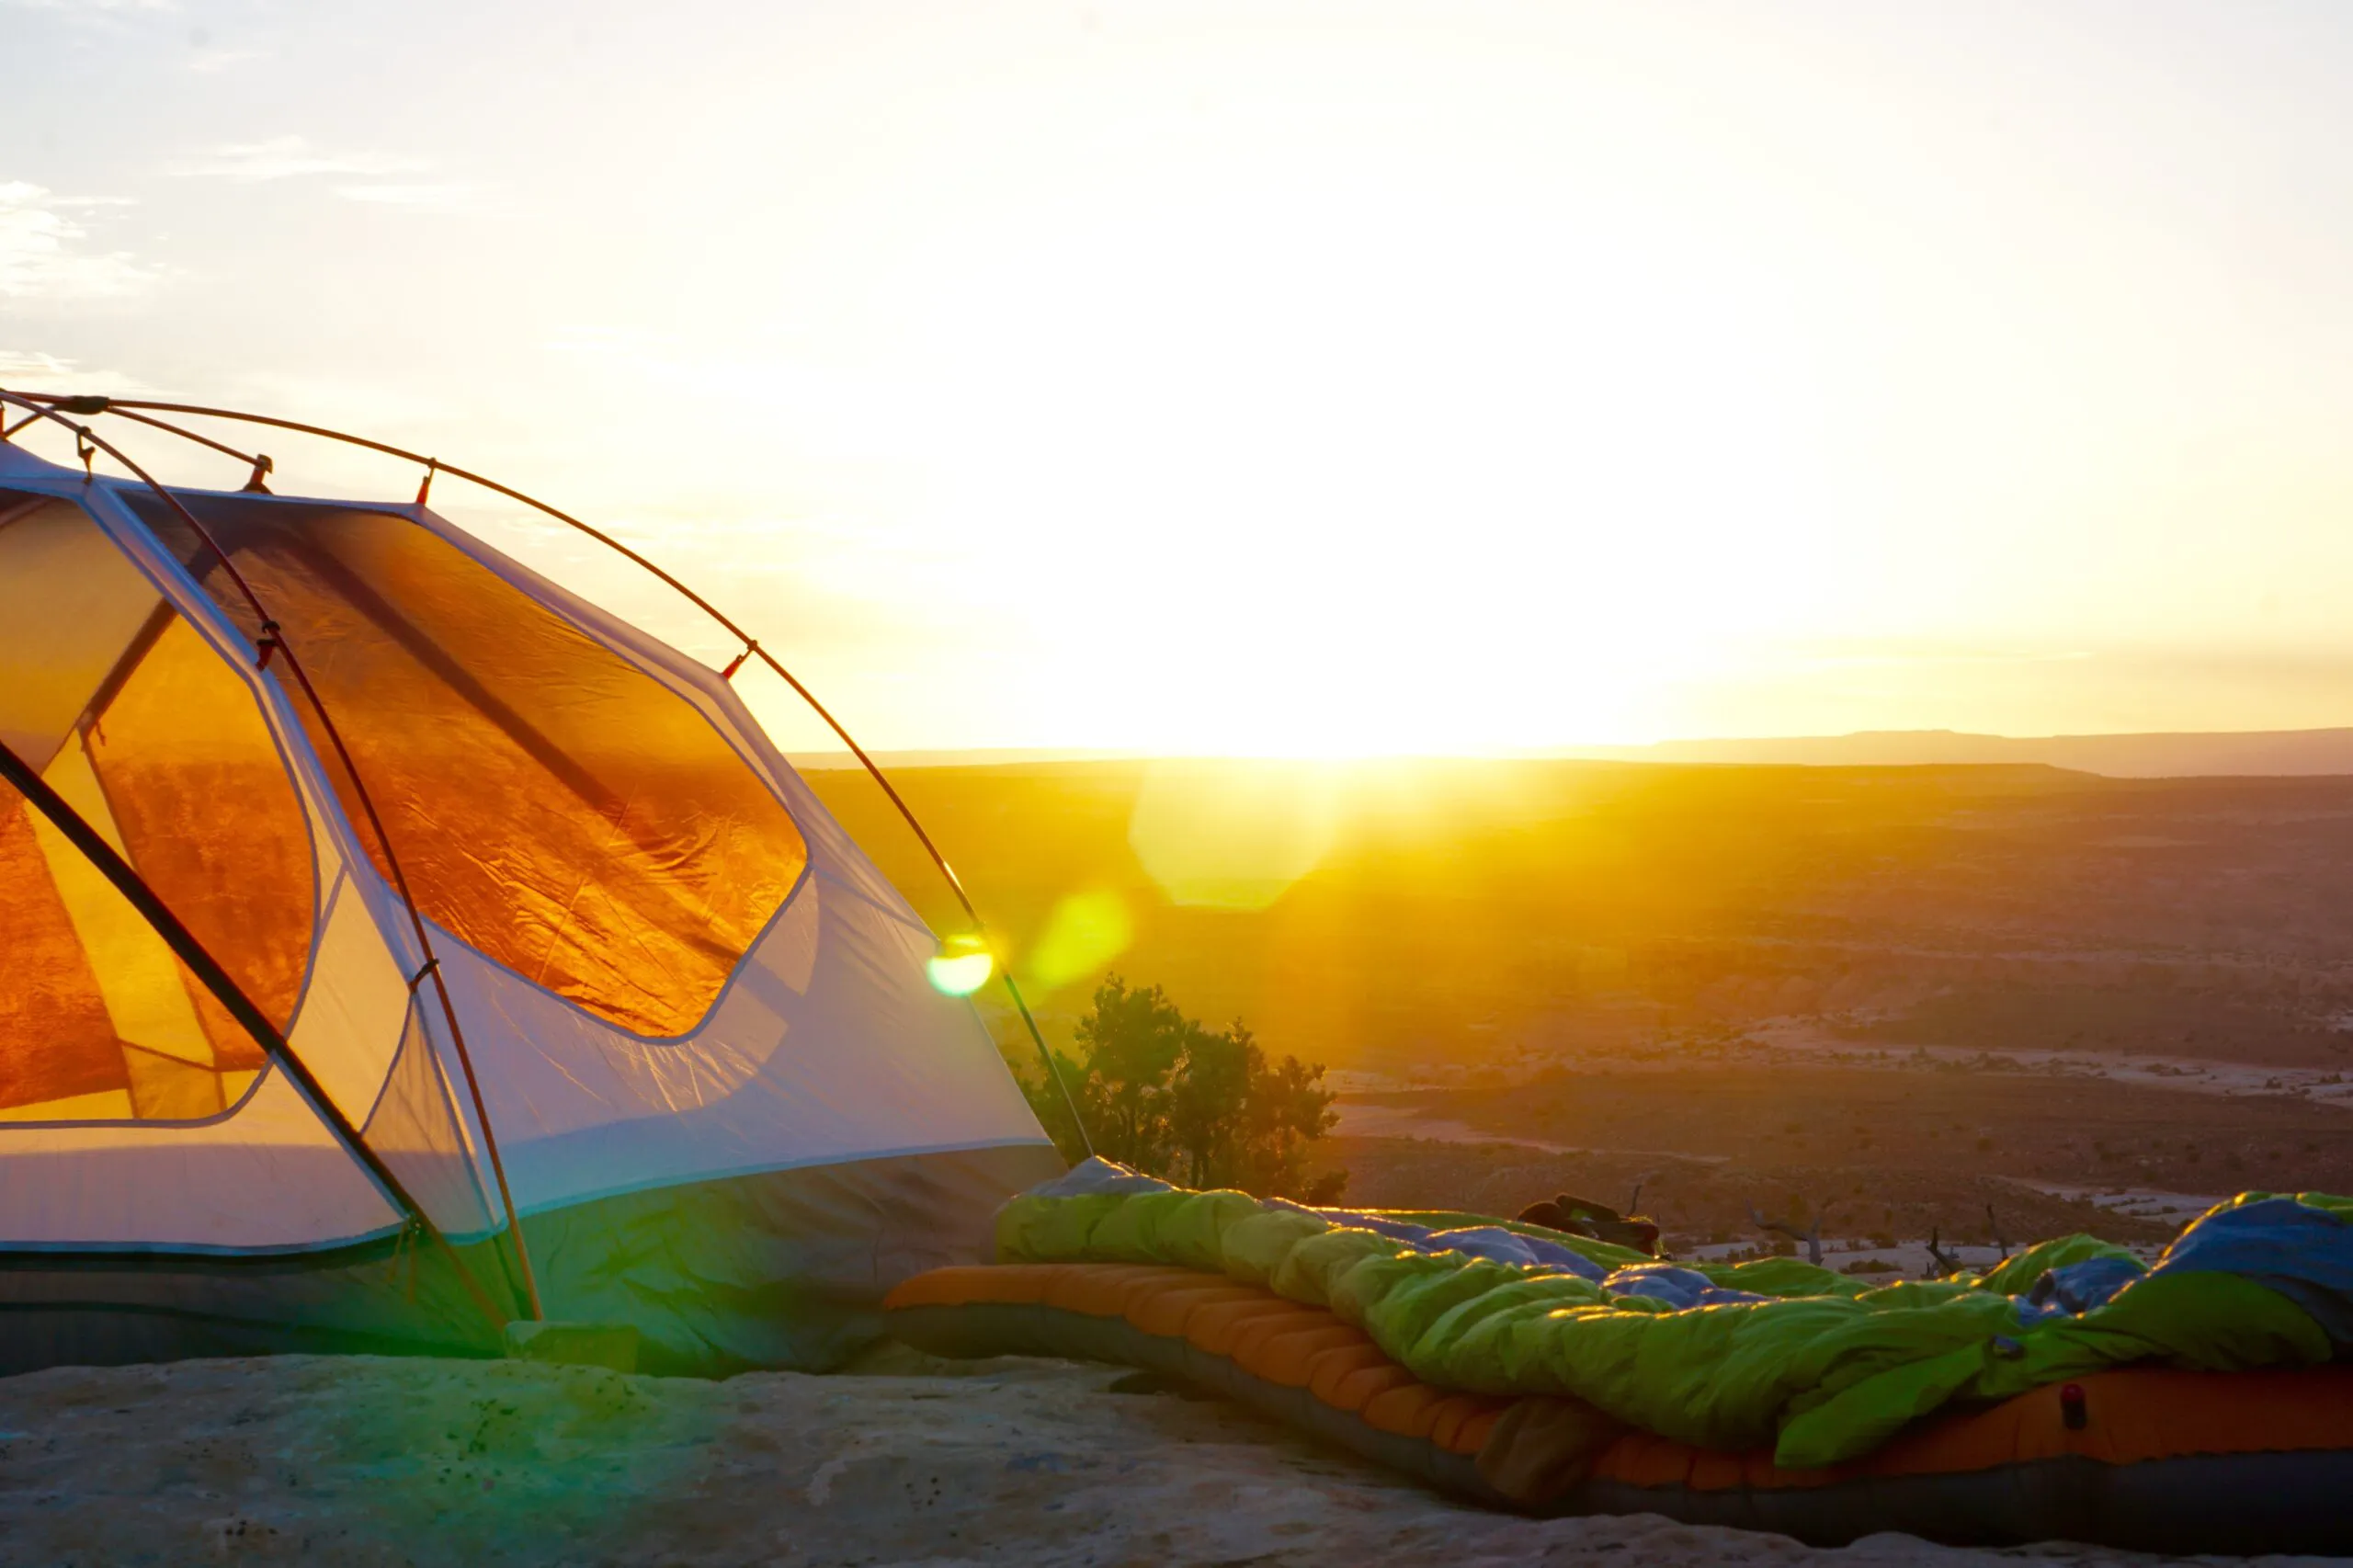
Sleeping Pad:
Just like sleeping bags, sleeping pads play an important role in keeping you warm and comfortable at night. Their main responsibility is to provide a layer of insulation between you and the cold, rocky ground beneath your tent. There are a billion and one options on the market and they can range in cost from $20.00 to over $400.00.
Generally speaking, if you are okay to compromise a little comfort for a cheaper product, a classic Thermarest Foam Pad will do the trick.
If you are a more dedicated hiker and prefer a warmer, more compact option, we encourage you to check out Thermarest’s line of sleeping pads. There are a number of wonderful options out there, but the NeoAir Xlite is a guide-favorite. It weighs just 12.5 ounces and packs down into a tiny palm-sized bundle. It also offers additional insulation and keeps you significantly warmer at night compared to the foam options.
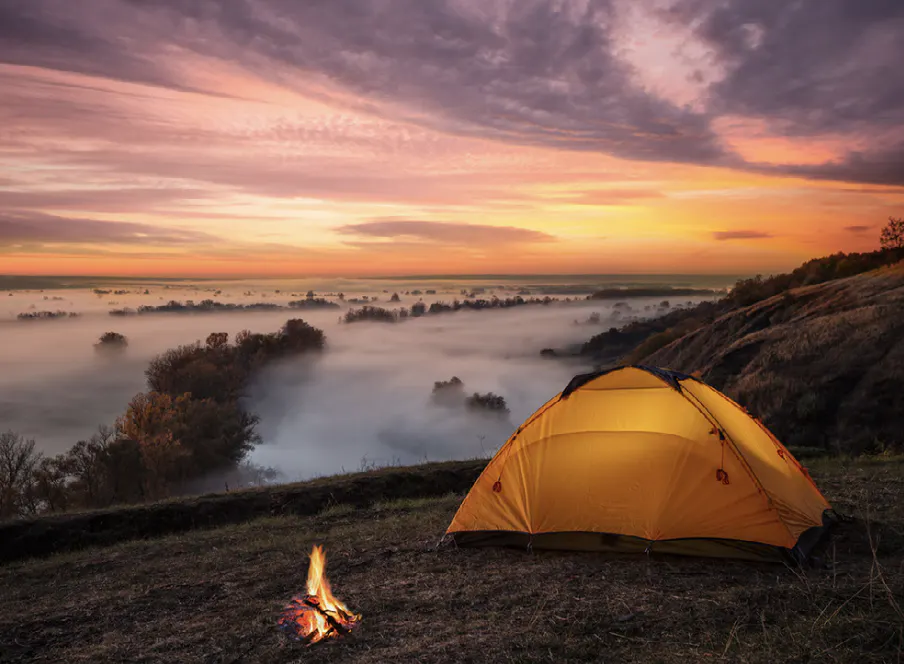
Tent:
If you need a tent, the first question you should ask yourself is whether you should buy one or rent one from a local outdoor store. Renting is often a more affordable option and may be easier if you are flying to your destination.
If you plan to purchase a tent, here are a few simply guidelines to follow!
What Type of Tent to Get:
Unless you plan to complete a high-alpine or winter trek, you should get a 3-season tent.
How Tents are Sized:
Tents are sized based on how many people they can sleep. For example, the REI Half Dome 2 tent sleeps two people comfortably, while the REI Passage 1 tent sleeps a single person. Tall sizes are also available.
Other Things to Consider When Purchasing a New Tent:
- Assembly: One of the most important factors to consider when selecting a tent is how easy it is to assemble. When you arrive at camp after a long day of hiking, the last thing you want to do is spend half an hour putting together your tent. Most modern tents rely on color coding systems and utilize pre-attached pole designs. They can be assembled in under 5-minutes. For this reason, we love the REI Half Dome 2 tent or the Kelty Far Out 2.
- Weight and Packing Space: Tents are big. They take up a lot of space and weight in your pack. We recommend selecting a tent that weighs under 4.5lbs and testing it out in your pack to see how much room it takes up before getting on the trail.
- Footprint: A footprint is a piece of fabric that fits between the tent and the ground. It is designed to protect the bottom of your tent from small rips and morning dew. If your tent does not automatically come with a footprint, it is worth the investment. You’ll want to select a footprint that most closely matches the size of the base of your tent. Otherwise, you’ll end up collecting excess water.
Wondering If You Need a Tent for Your MT Sobek Trip?
Here at MT Sobek we take the worry out of deciding which tent to take as we have it all expertly handled for you! Plus, you don’t have to carry it.
Rental Options:
Backpacking gear is expensive. But you don’t have to spend a fortune to enjoy your trek. Many outdoor stores offer inexpensive rental options for backpackers. If you don’t want to drop hundreds of dollars on new gear, consider renting your tent or backpack from a local outdoor store. REI, which is located in most major cities, offers affordable rental solutions.
Other Trail Essentials You’ll Want To Pack On Your Multi-Day Trek:
In addition to the trekking staples listed above, here are a few additional recommendations you should consider when packing for your upcoming trek:
- A headlamp with backup batteries. We recommend a headlamp with at least 400 Lumens like the Black Diamond Spot 400. Unless you are planning to go to bed at 6PM, you’ll want one of these.
- Stuff sacks for organizing your internal gear (clothes, toiletries, etc.). It’s also a good idea to have a few waterproof stuff sacks like these ones to keep your electronics and important gear dry. Of course, you can also use ziplocs and garbage bags, but having the extra security of a dry bag never hurts.
- A first aid kit containing Advil, Aspirin, chapstick, Neosporin, Bandaids, gauze, Moleskin, scissors, and tweezers (at the minimum), along with any other essential medications you’ll need for the trek. Be aware that certain medications do not work at certain elevations! Consult your doctor before traveling.
- A lighter, a pocket knife, and a safety whistle -for safety in the backcountry
- A Jet Boil, Fuel, and Food: for cooking food and boiling water efficiently along the way. If you are traveling with Mountain Travel Sobek, check to see if snacks are provided and note any dietary restrictions.
- A collapsible bowl,cup, and plastic silverware.
- A sanitation shovel like this one.
- A Kula Cloth (for the ladies). There are some pretty cool designs out there.
- Body wipes (the next best thing to a shower, they are worth the weight, trust us).
- Toiletries: sunscreen, toothpaste, toothbrush, feminine products, and a roll of extra TP.
- A powerbank such as this one if you want to keep your phone charged for photos.
- A swimsuit and a quick-dry towel: if there are hot springs/rivers along the way to swim in.
- Ginger chews: if hiking at elevation, consider bringing Ginger Chimes or crystalized ginger to soothe an upset stomach.
- Polarized sunglasses (with wrap-around shades that cover the corners of your eye for maximum protection).
- A carabiner: you can never go wrong having an extra carabiner on hand.
- Garbage Bags, Zip Lock Bags, and Duct Tape: (you never know when these might save the day!)
- Other: Consider bringing microspikes (if hiking on icey or glacial terrain) as well as bear spray and bear canisters (if hiking in bear country).
Recommended reading: Best Outdoor Gear to Take On Your Next Hike
It’s Time to Hit The Trail!
Now that we’ve demystified the packing experience for you (and you know exactly what to bring), it’s time to hit the trail!
While we can’t prepare you for the conversations around the campfire, the cotton-candy colored sunrises, or the feeling of accomplishment you’ll get when it’s all said and done, we can ensure that you are set up for success.
Our team here at Mountain Travel Sobek is here to help you with every step of your journey.
Want to go on a multi-day trip? For more on our multi-day adventures, explore our popular destinations. Chat with a Mountain Travel Sobek trip consultant to book your next trip.
Ask an Expert
We want you to have the best adventure, so don’t hesitate to call our expert team of adventure specialists at 800-974-0300 to learn more. Or click the button to use our online contact form.
Further Reading…
Best Hiking Adventures for Every Continent
Meet MT Sobek’s 2023 Top Conde Nast Travel Specialists
Top 7 Expert Adventure Picks for 2023


